
If you're even considering making rosemary essential oil at home, you know the value of plant medicine. We're here to help.
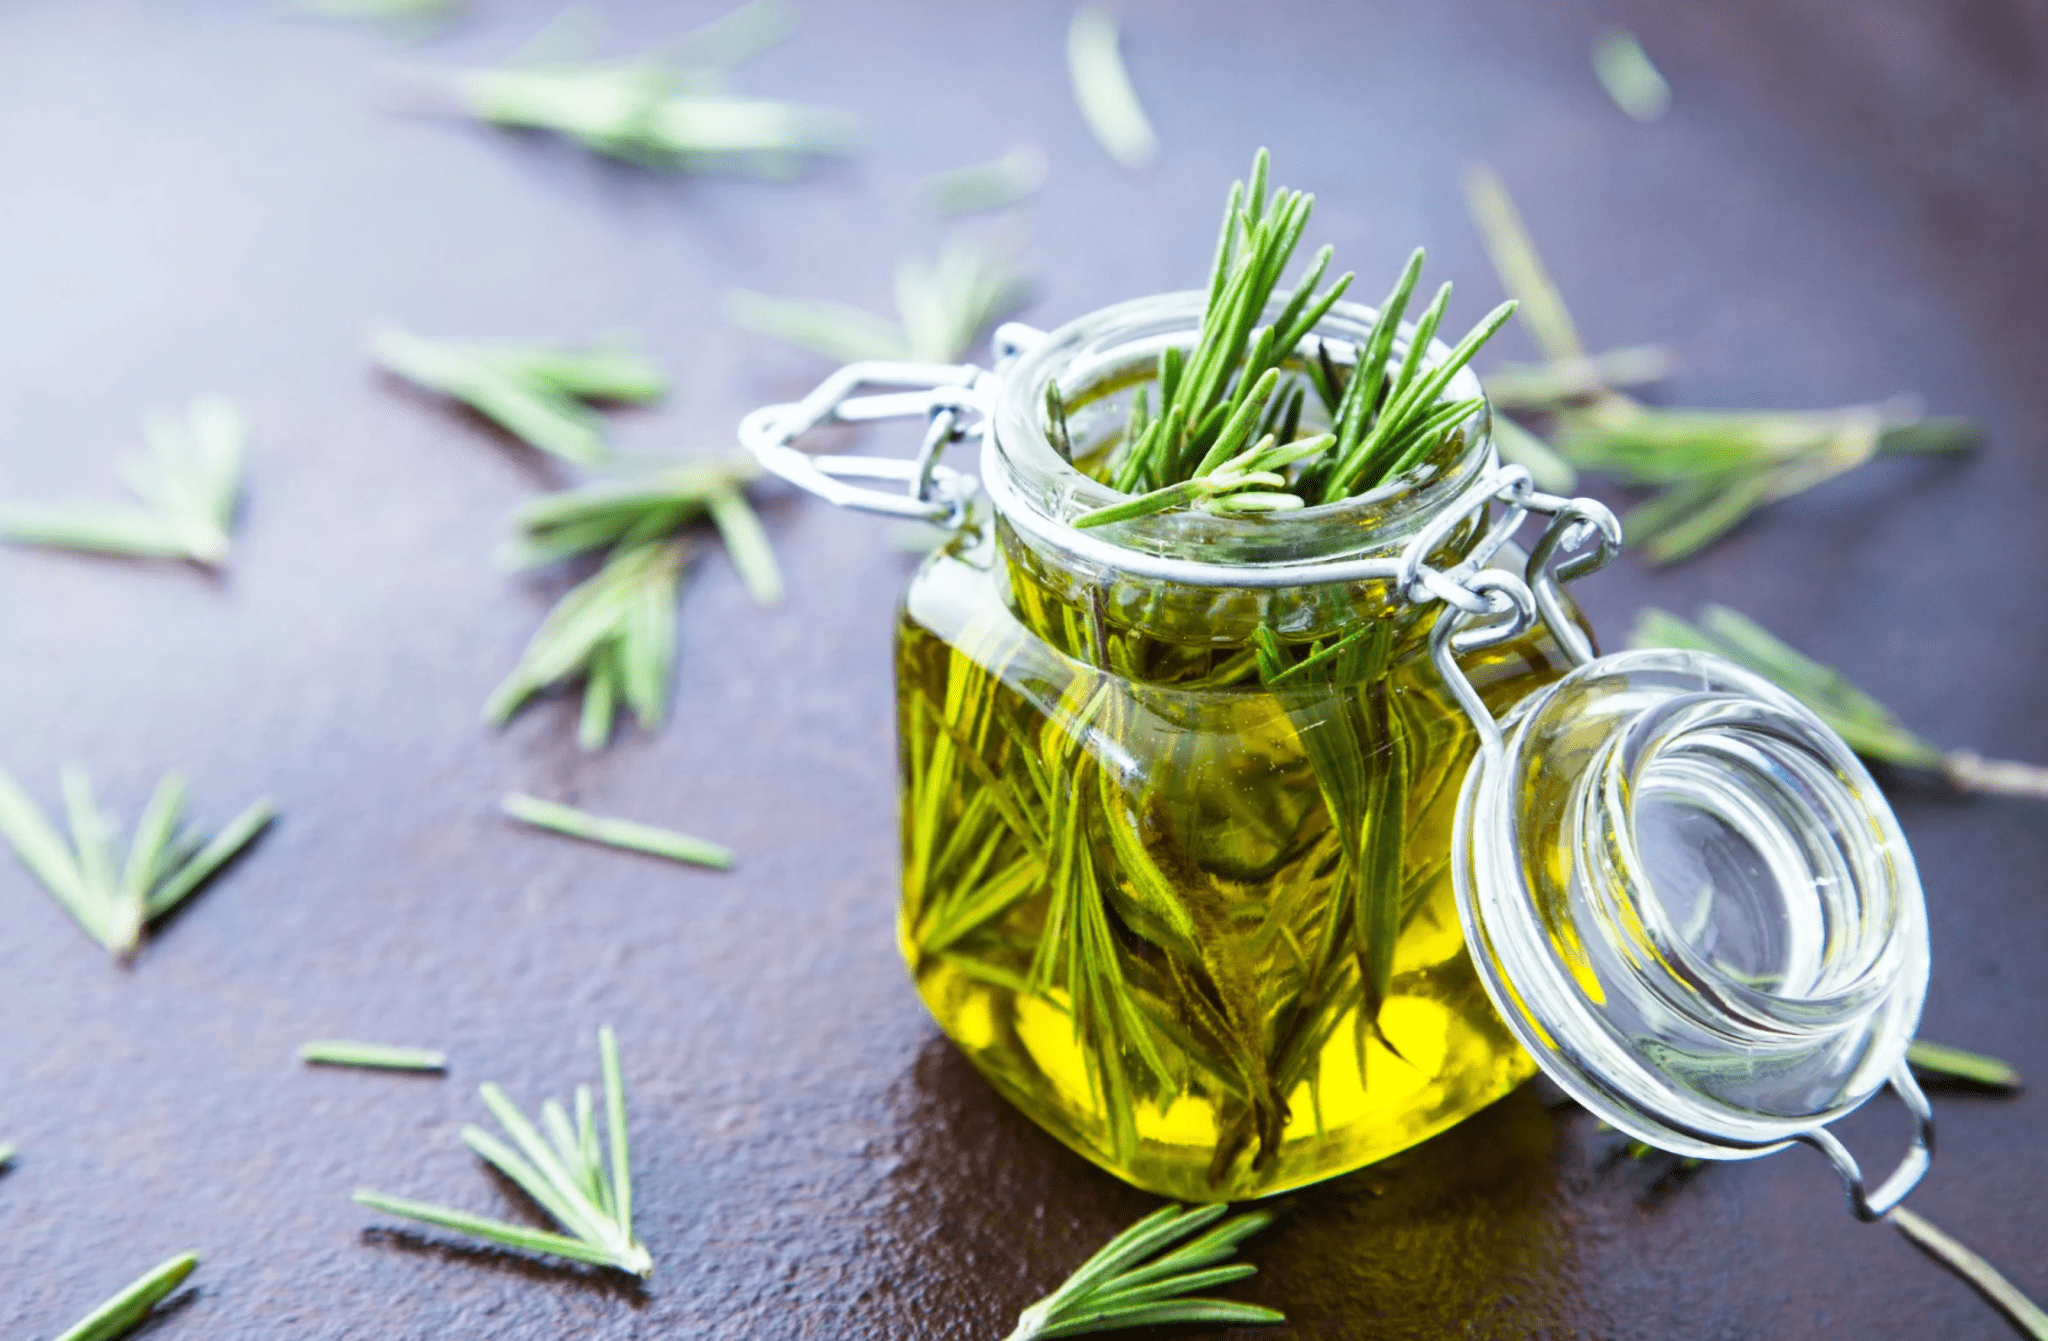
A savory herb, rosemary also produces terrific essential oil. But, at $4 and up per ounce, it can get pricey if you use a lot. So, why buy it when you can distill your own rosemary essential oil?
Sure, you'll need a still, but we're betting you already have one. Or, you're deciding which one to purchase (I can recommend a great one!).
Our step-by-step guide will help you, whether you're new to distilling or just haven't distilled rosemary essential oil, our step-by-step guide will help.
Key Facts
- Rosemary produces .12 to .32 ounces (3.4 to 9 ml) per pound of leaves and flowers.
- When preparing fresh rosemary for distillation, leave the stems intact to keep the leaves from blocking the steam flow.
- Copper isn't compatible with induction (glass top) stoves. However, using a portable electric burner or stainless converter works great.
- Steam distillation doesn't require the water to be at a full boil — bringing it to a low simmer is perfect.
How Much Essential Oil Does Rosemary Produce?
Like other herbs, rosemary harvests are affected by many factors. Among those are rainfall, temperatures, and soil — even the timing of the harvest counts. According to a 2022 study on rosemary harvested in the Himalayas, rosemary contains more essential oil in the fall than at any other time of the year.
Still, you can expect an average of 0.8% to 2% essential oil per pound of fresh rosemary flowers and leaves. However, dried rosemary doesn't produce as much as fresh; use dried if that's what you have available.
How Distillation Works

The idea behind distilling is straightforward, whether you're steam-distilling rosemary or some other herb. In the simplest terms, steam distillation is similar to steaming vegetables, where you have a bunch of herbs sitting over a pot of simmering water. Only, instead of cooking the herbs for eating, you're capturing the steam that comes through them — making the still necessary.
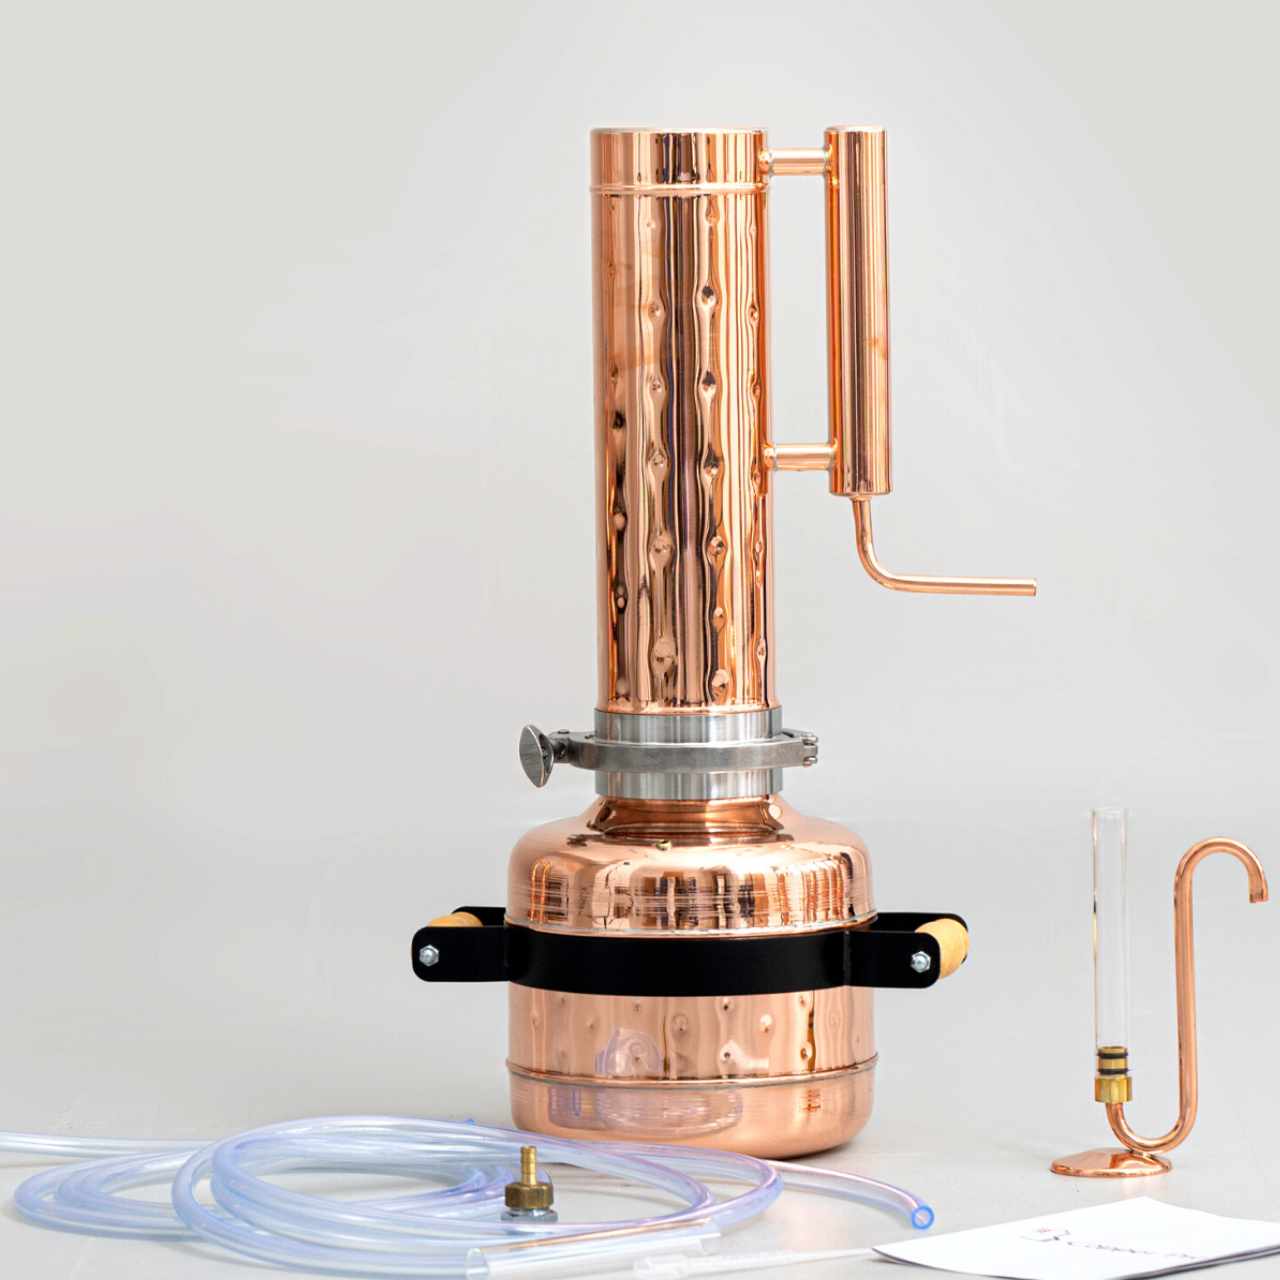
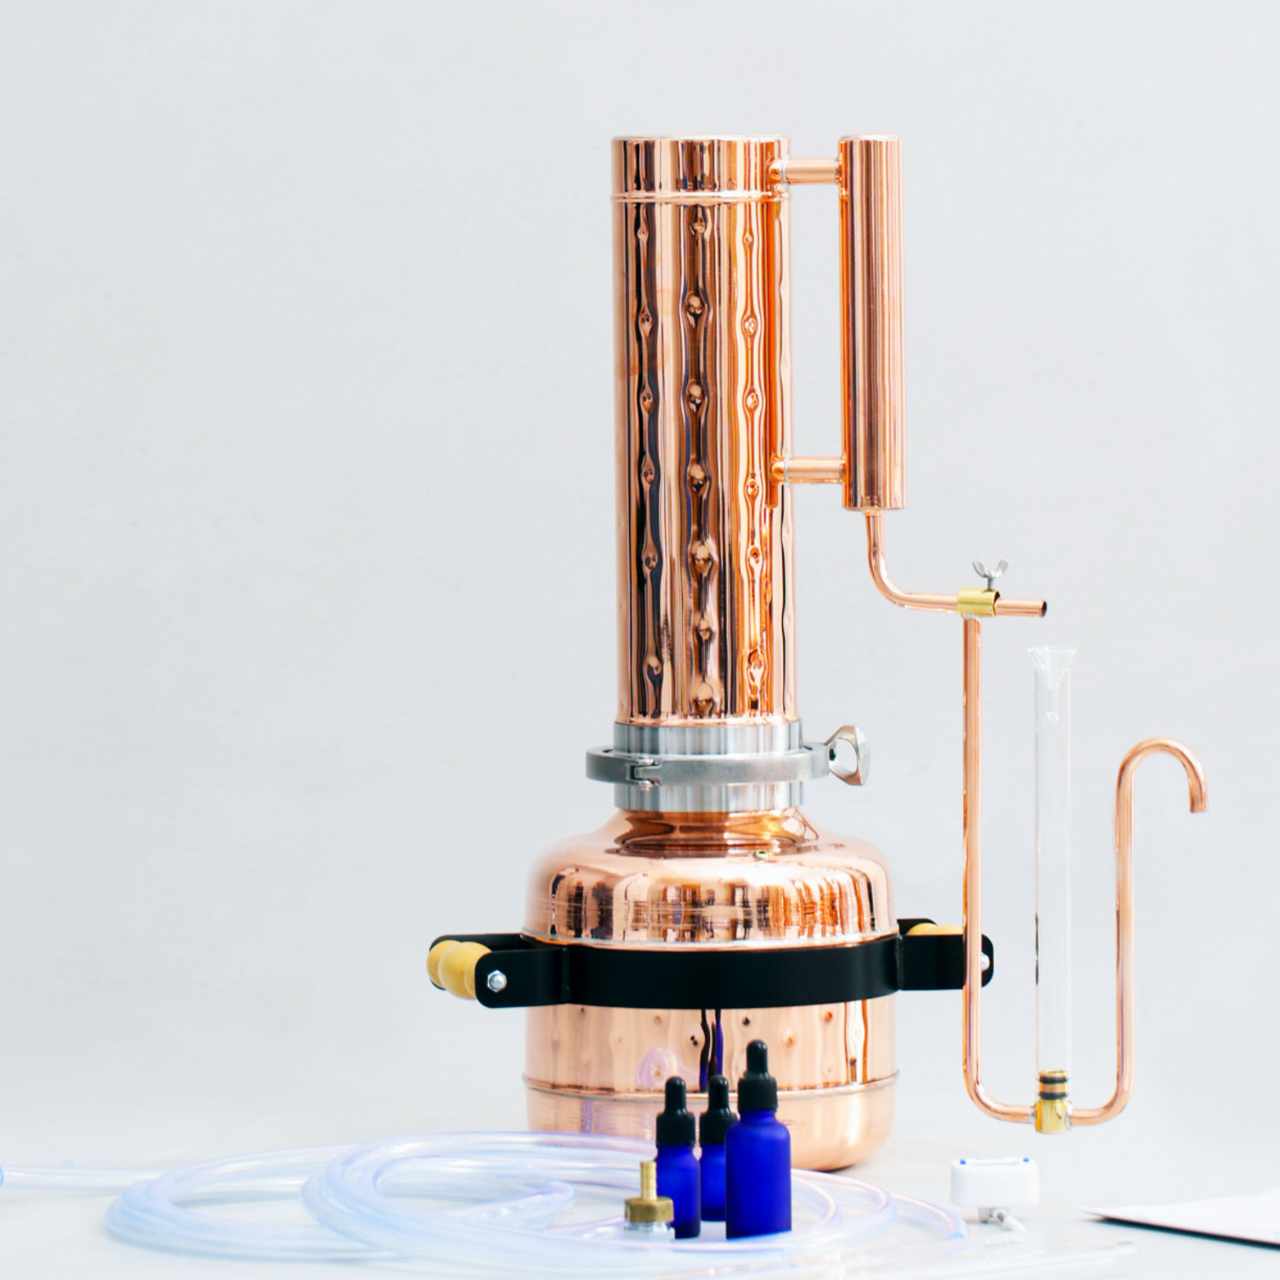
All stills have a few things in common. On the bottom is a boiler for heating water and an upper chamber that connects to a copper or steel tube to capture the steam, which travels through a cooling system to make the steam condense back into a liquid. At the end of the whole setup is an oil separator that captures the distillate. Stills manufactured specifically for essentials also have an extended column on the top for holding more plant matter.
If there's enough essential oil, you can separate it from there. If not, store and use it as hydrosol. It depends on the herb you're distilling, but rosemary produces a respectable amount of essential oil.
Distilling Rosemary Essential Oil in a Copper Still
Rosemary, being a tougher plant material, takes longer to distill than some herbs. It can take a couple of hours of distillation before you have fully extracted the essential oil from rosemary leaves and flowers.
There's nothing better than a copper still for essential oils — it has natural anti-microbial activity and heats more evenly than many materials. So before you fill the distiller and start making rosemary essential oil, here's a short list to ensure you have everything ready.
- You have enough rosemary to fill your still's column.
- Ensure that your still is clean and anything that needs oil is oiled.
- The oil separator is ready.
- You have bottles to fill with oil and hydrosol.
- Enough filtered water for your still's boiler.
- Get the water supply ready.
- You have an appropriate heat source.
Step 1: Select and Prepare Rosemary for Essential Oil
Studies show that rosemary's essential oil content is highest when the plant is in full bloom but before the flowers fade.
Harvest leaves and flowers with the stem; there's no need to remove them before you load the column — in fact, leaving them intact will help. The stems contain a little EO and prevent the softer fresh leaves from clumping together. However, cut them to a length that will fit in your distiller column and remove overly woody stems.
In rosemary, most of the essential oils are located in the glandular hairs at the surface of the leaves. So, you don't need to chop the leaves to make distillation more effective. However, don't use rosemary that has been sprayed with chemicals. You don't want those in your essential oil.
You can also use dried rosemary for essential oil. However, you need to leave more space. Dried plants expand and take up to 20% more room in the column. On the bright side, since it's already been prepped by either you or the producer, there's less work involved before you begin distilling.
Step 2: Fill the Boiler with Water
Since rosemary (especially dried) takes a little longer to extract its essential oils than other plants, fill the boiler to about 80%. One benefit is you'll also have more hydrosol in the end — never a bad thing!
I recommend using filtered water because the tap water in most areas has added chlorine. It's there to prevent water-borne illnesses, but it doesn't belong in essential oil.
We like to start with hot water because you won't have to wait as long before you see the first drops of essential oil drip from the spout.
Important: Use filtered water for better essential oil.
Step 3: Fill the Column with Rosemary Leaves and Flowers

Fill the column with rosemary sprigs. You can fill it pretty fully because the fresh rosemary stems will help create the space you need to allow proper steam flow. Try to fill the column evenly so there aren't pockets of nothingness alternating with dense rosemary pockets.
Dried plants expand as the steam passes through them. So, if you're using dried rosemary leaves, leave some space — it will expand it up to 20%.
Step 4: Close the Column & Install the Gasket on the Boiler Rim
Close the column with the sieve.
Place the gasket on the boiler rim, then place the column on the boiler. Take your fingers around the edges where the boiler and column meet, and ensure the gasket is fully inside. If it's sticking out from the edge, use your finger to rub gently around the edge to push it in until it's flush with the edge.
Attach the boiler and column with the clamp, and be sure it's secure.
Step 5: Attach the Water Supply
Having an appropriate water supply is vital to distilling essential oils and hydrosols. Without the water cooling the steam as it travels toward the spout, it wouldn't condense completely — allowing your freshly-made essential oil and hydrosol to evaporate into the air.
Attach the water supply hoses to the intake and outlet of the condenser, then to either a water faucet or the aquarium pump.
Important: Keep the water as cool as possible to properly condense the steam. If you use an aquarium pump and bucket, change it regularly or add ice to the water.
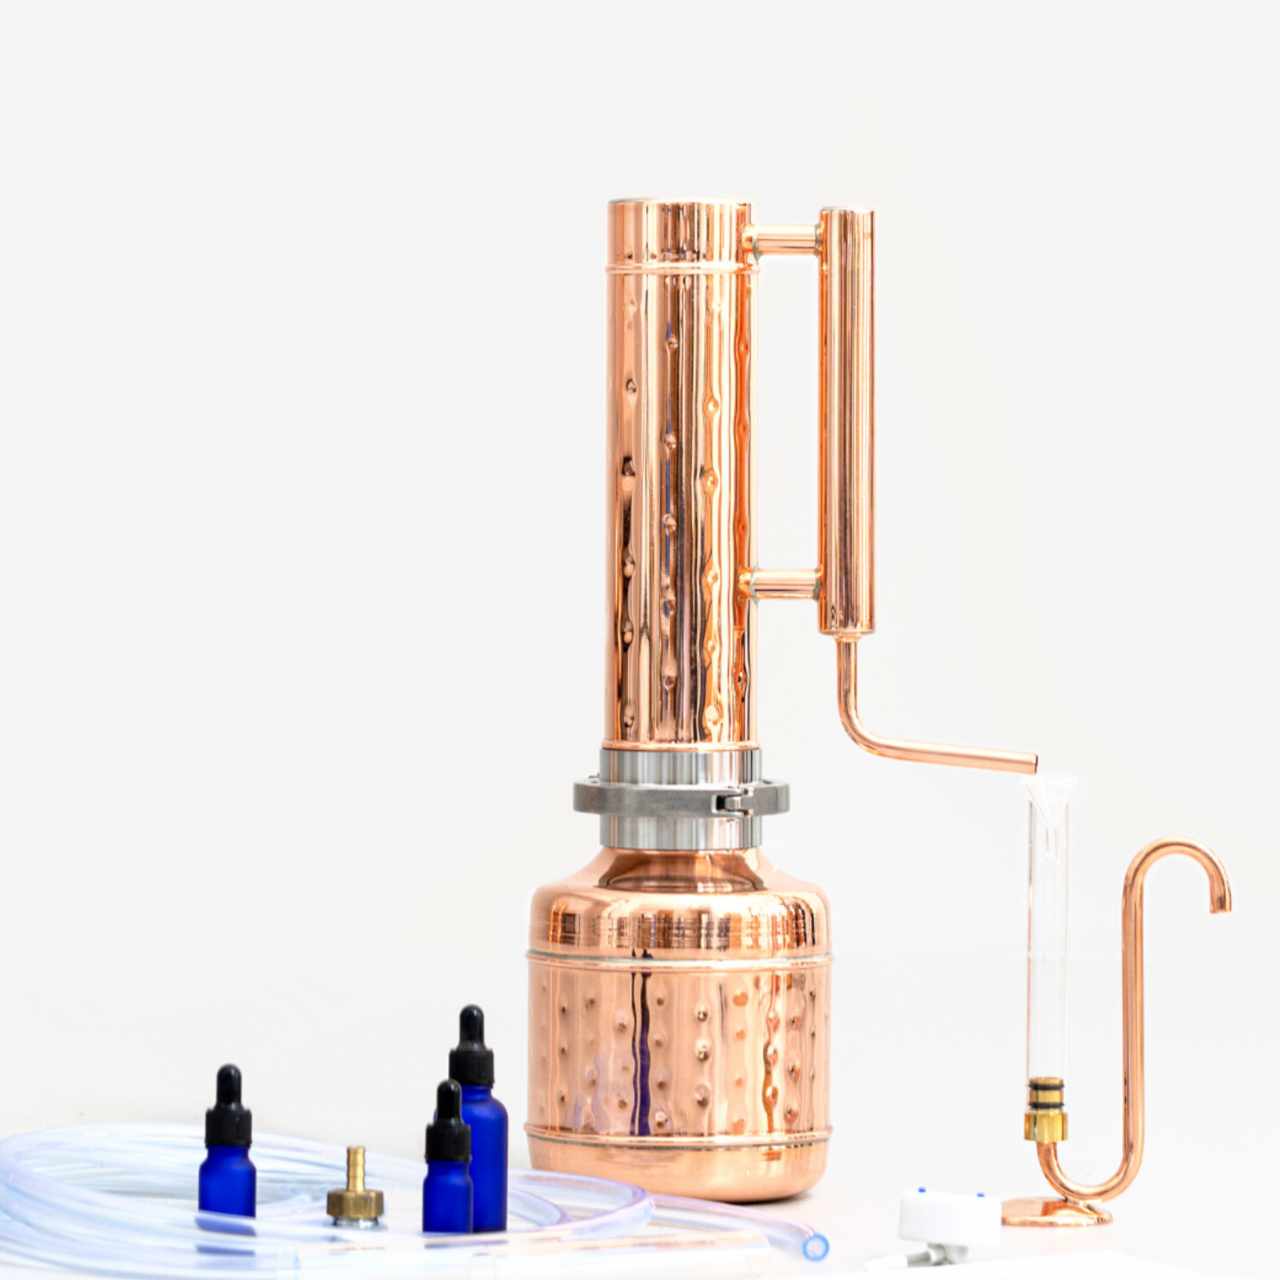
Step 5: Place the Oil Separator
An oil separator is only necessary when you're making essential oil because you have to be able to separate the EO from the hydrosol.
- Before you start distilling, place the oil separator's glass side under the spout.
- Have a jar ready to collect hydrosol on the copper side of the separator.
- Adjust your setup, so the separator is close enough to the spout that you don't lose any distillate.
Step 6: Turn on the Heat and Water Supply
Turn on the heat first and let the water in the still's boiler start heating.
Then, turn on the water supply.
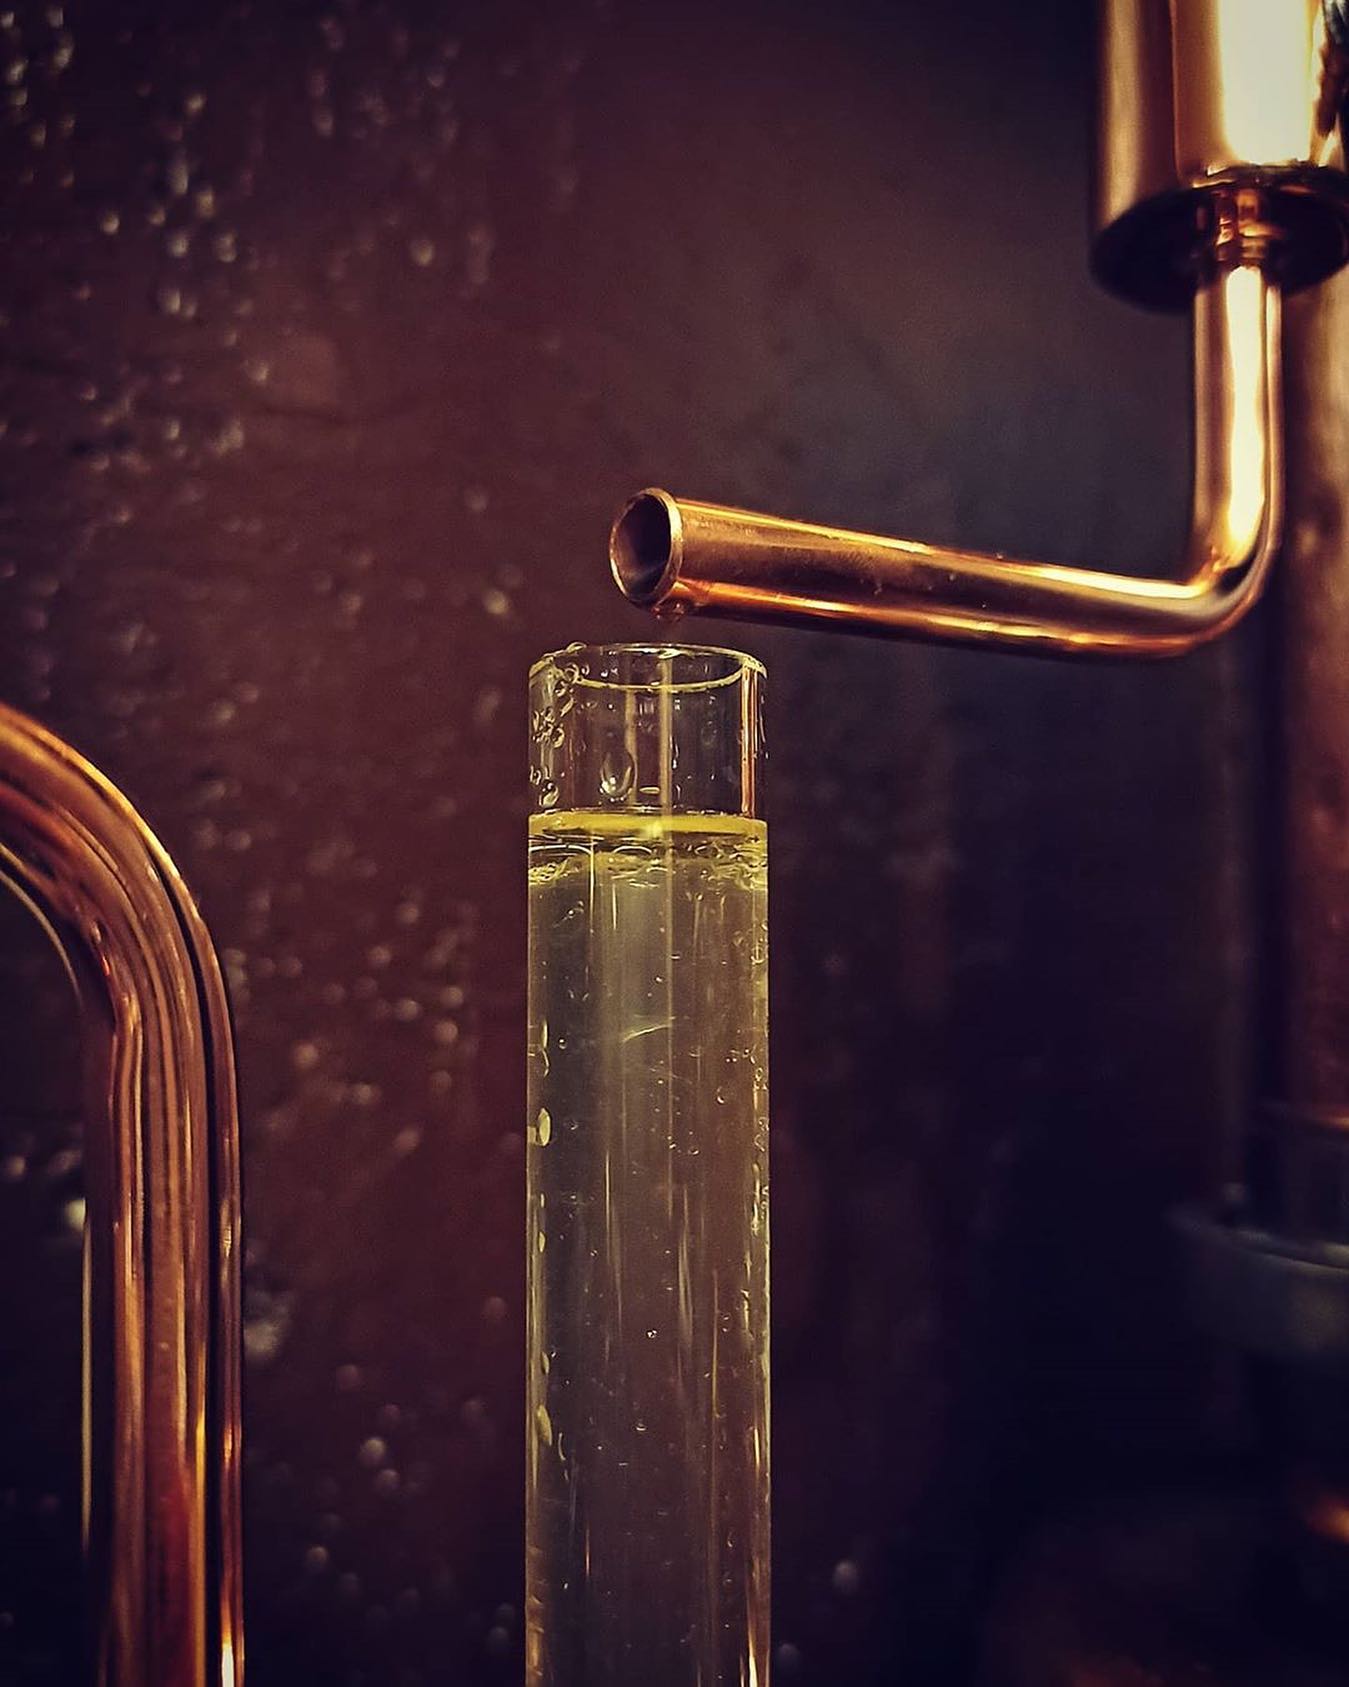
Once the water begins simmering, it won't be long before the first golden drops of rosemary essential oil drop into the oil separator. Although the still does the essential oil extraction for you, it still needs attention. So here are a few things to watch out for while distilling rosemary essential oil:
Change the hydrosol container every 30 minutes.
Measure the essential oil output every 15 minutes.
Do not let the boiler run dry.
Pay attention to the water temperature.
Make sure that the distillate coming out is warm.
When Should I Stop the Distiller?
When you're new to distilling, figuring out when to turn off the distiller can feel like a challenge. However, if you have been measuring the essential oil output, it's easy! If you're only interested in the essential oil, turn off the heat when you see no increase in its volume after 15 minutes.
The hydrosol may take a minute to stop dripping from the spout, so let it finish. If you've allowed the water in the boiler to run too low, remove it from the heat.
Note: Do NOT let the boiler run dry. You will damage your still.
Bottling Homemade Rosemary Essential Oil
Use a pipette to pull the essential oil from the glass side of the oil separator and transfer it to a storage container. We recommend using amber or cobalt bottles and storing them in a cool, dark place. Homemade or not, sunlight damages essential oils and shortens their shelf life.
Storing the hydrosol you created is trickier because they have much shorter lifespans. Most sources recommend refrigerating hydrosols and using them within a few months.
How to Use Homemade Rosemary Essential Oil
Rosemary essential oil has dozens of uses! It is excellent in diffusers, lotions, homemade skincare products, and more. Here are a few ideas:
- Include homemade rosemary essential oil in headache remedies.
- Rosemary oil is terrific in hair growth recipes.
- People use it to increase mental clarity.
Its benefits are probably far greater than we realize. So enjoy your homemade essential oils, and keep learning!


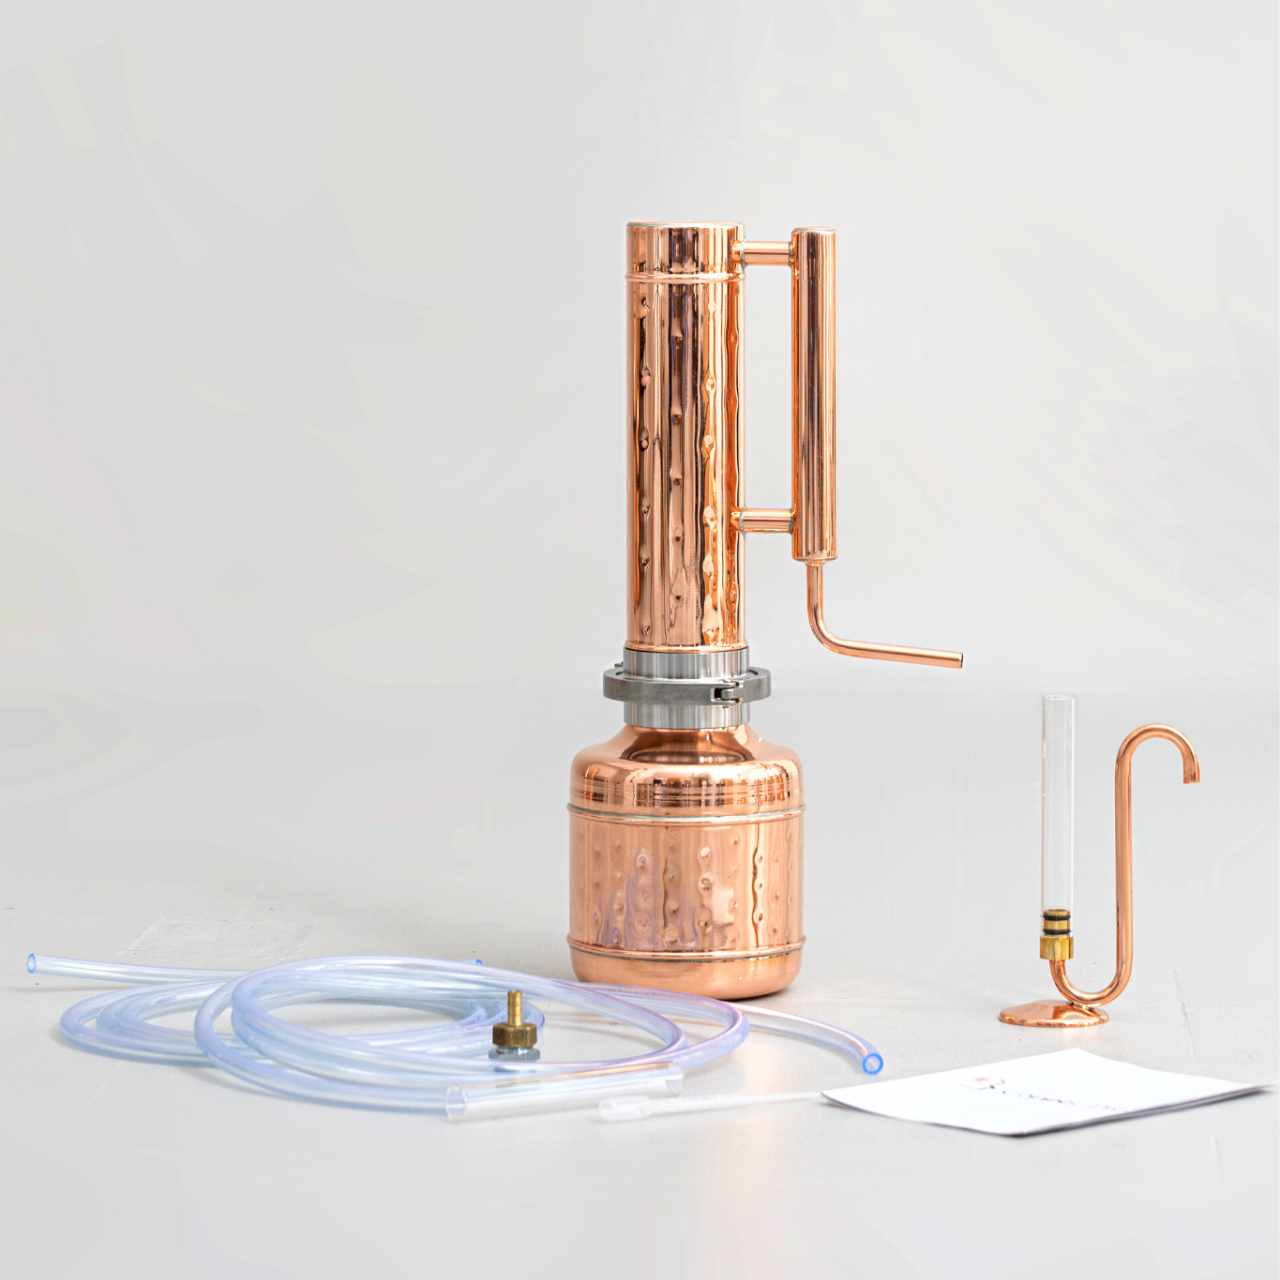
![Essential oil extractor 0.53G (2L) - [Premium Kit] - Copper Pro](http://copper-pro.com/cdn/shop/files/essential-oil-extractor-053g-2l-premium-kit-165442.jpg?crop=center&height=1080&v=1740390491&width=1080)

![Essential oil extractor 0.53G (2L) - [Premium Kit] - Copper Pro](http://copper-pro.com/cdn/shop/files/essential-oil-extractor-053g-2l-premium-kit-127057.jpg?crop=center&height=1280&v=1740390471&width=1280)

Comments (0)
Back to Blog Posts