Table of contents:
1.Methods to make essential oils from plants and herbs
2.What raw materials can be used to make essential oils
3. What do you need to make essential oils distillation?
- Preparation for distillation
4. HOW TO MAKE ESSENTIAL OILS: A STEP-BY-STEP GUIDE
- Essential oil making process
5. When you should stop the distillation process of MAKING ESSENTIAL OILS
- When to stop essential oil distillation?
- When to stop hydrosol distillation?
Methods to MAKE ESSENTIAL OILS from plants and herbs
Essential oils have amourmous spheres of its application. It is not only about nice adour, the essential oil has the natural power of the plant.
Since ancient times humanity has practiced different ways to extract essential oils out of plant material. They are water distillation, steam distillation, cohobation, maceration and enfleurage.
One or another method for extraction of oil is chosen in order to get the highest yield of oil and highest quality possible.
So depending on the raw material variety given, maceration will always be the best way to do extraction. Actually, it is always the case when oil yield from distillation is poor.
When the raw material is high in cost, too delicate and unsuitable for high temperature, solvent extraction is the method applied. For many other materials water and steam distillation is applied.
CO2 extraction is also a method for extracting the essence of the material, but the result of this method is not essential oil. It is an oily liquid of different color and density called CO2 extract.
If you are not sure about the specific raw material, the best way to extract essential oil, we would recommend you read this article. Add the word “yield” to your raw material and you will find needed information. Contacting us would be an option, too.
What raw materials can be used to make essential oils

The yield of essential oil out of 1 kg of the raw material depends a lot from the type of plant material itself. One of the smallest yields has rose petals which is around 0,02% (2 ml of rose essential oil from 10 kg of rose petals). The highest yield have pine sup (pinus species) upto 35% (350 ml from 1 kg of resin), mace (myristica) and nutmeg (myristica)upto 25% (250 ml from 1 kg of arils/seed).
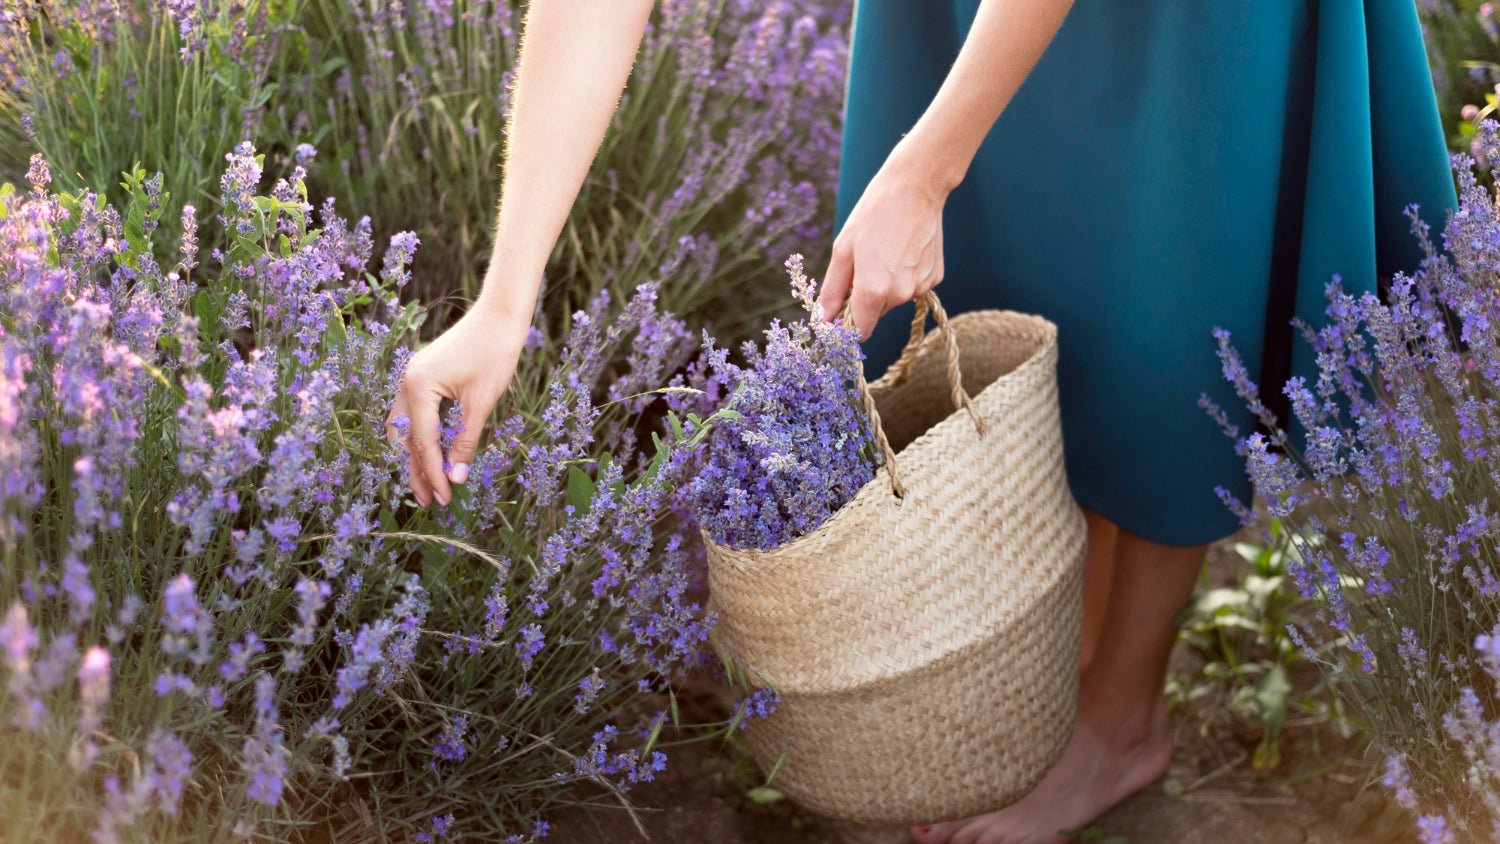
There could be quite a significant difference in the yield within the type of the raw material. Like there are many different varieties of the lavender with different essential oil content.
One more very important factor is the weather and soil quality where the raw material is growing.
Harvesting period and time are influencing the yield as well. For most of the flowers the period when volatile essences are highest in the plant is until the moment when flowers are half open. There are exceptions of course. Rosemary should be harvested in full bloom for example. Some other flowers should be harvested only before the blossom.
Best harvesting time is in the morning, just before day heat starts evaporating the volatile essences from the plant material.
Dry or fresh material?

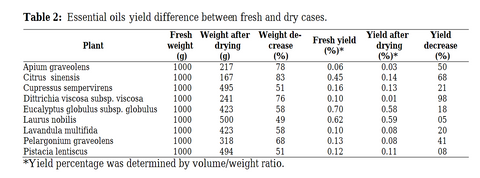
If you have both options available, it is much better to go for a fresh one. When aromatic raw material drays up it loses some % of its EO content. The decrease varies from very small % (5% for laurel) to almost total loss of EO content after drying up the raw material (98% of decrease for Dittrichia viscosa).
Sometimes or often it is just not possible to distill your raw material when it is fresh. Dry it in the shadow or under the roof to retain as much EO as possible. It is preferable to dry your material at a medium temperature.
Is it possible to extract essential oil out of woods like agarwood, frankincense, myrtle?
Sure. For wood raw material and resins water distillation is applied. This kind of raw material should be fragmented into chips or powder and mixed with water. For agarwood soaking time upto 14 days will bring a positive influence on EO yield. In any case it is better to do small research on your specific raw material. www.researchgate.net is one of the websites to get more info on the yield and extraction methods of EOs.
Hydrosol or essential oil?

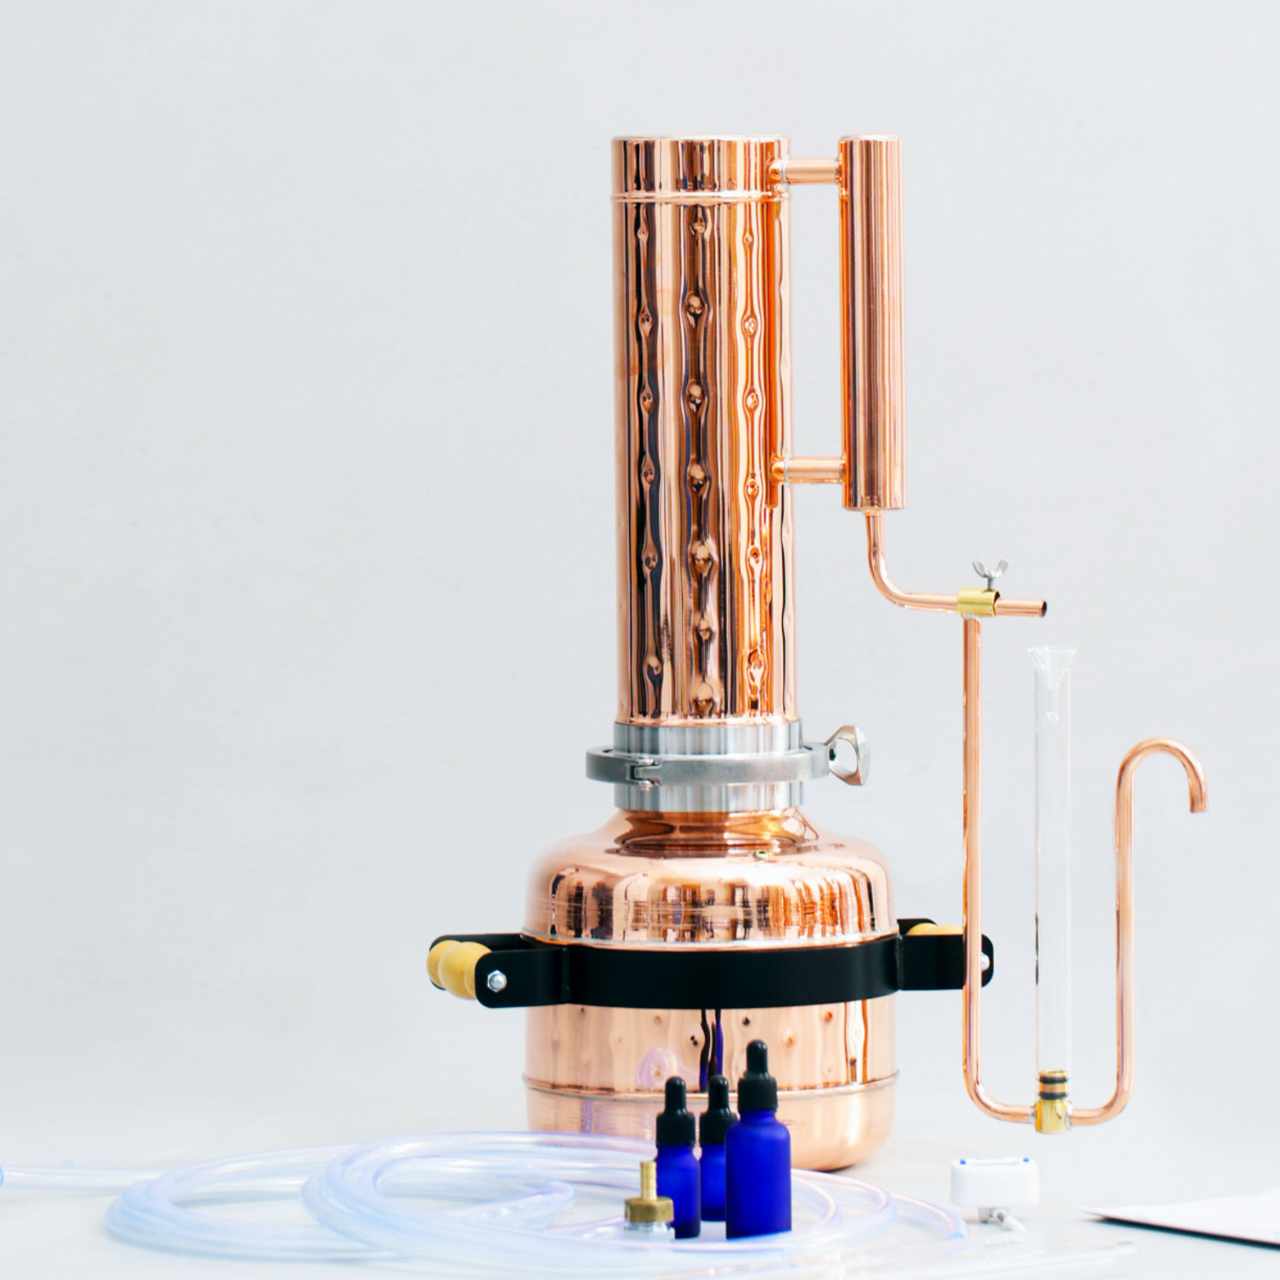
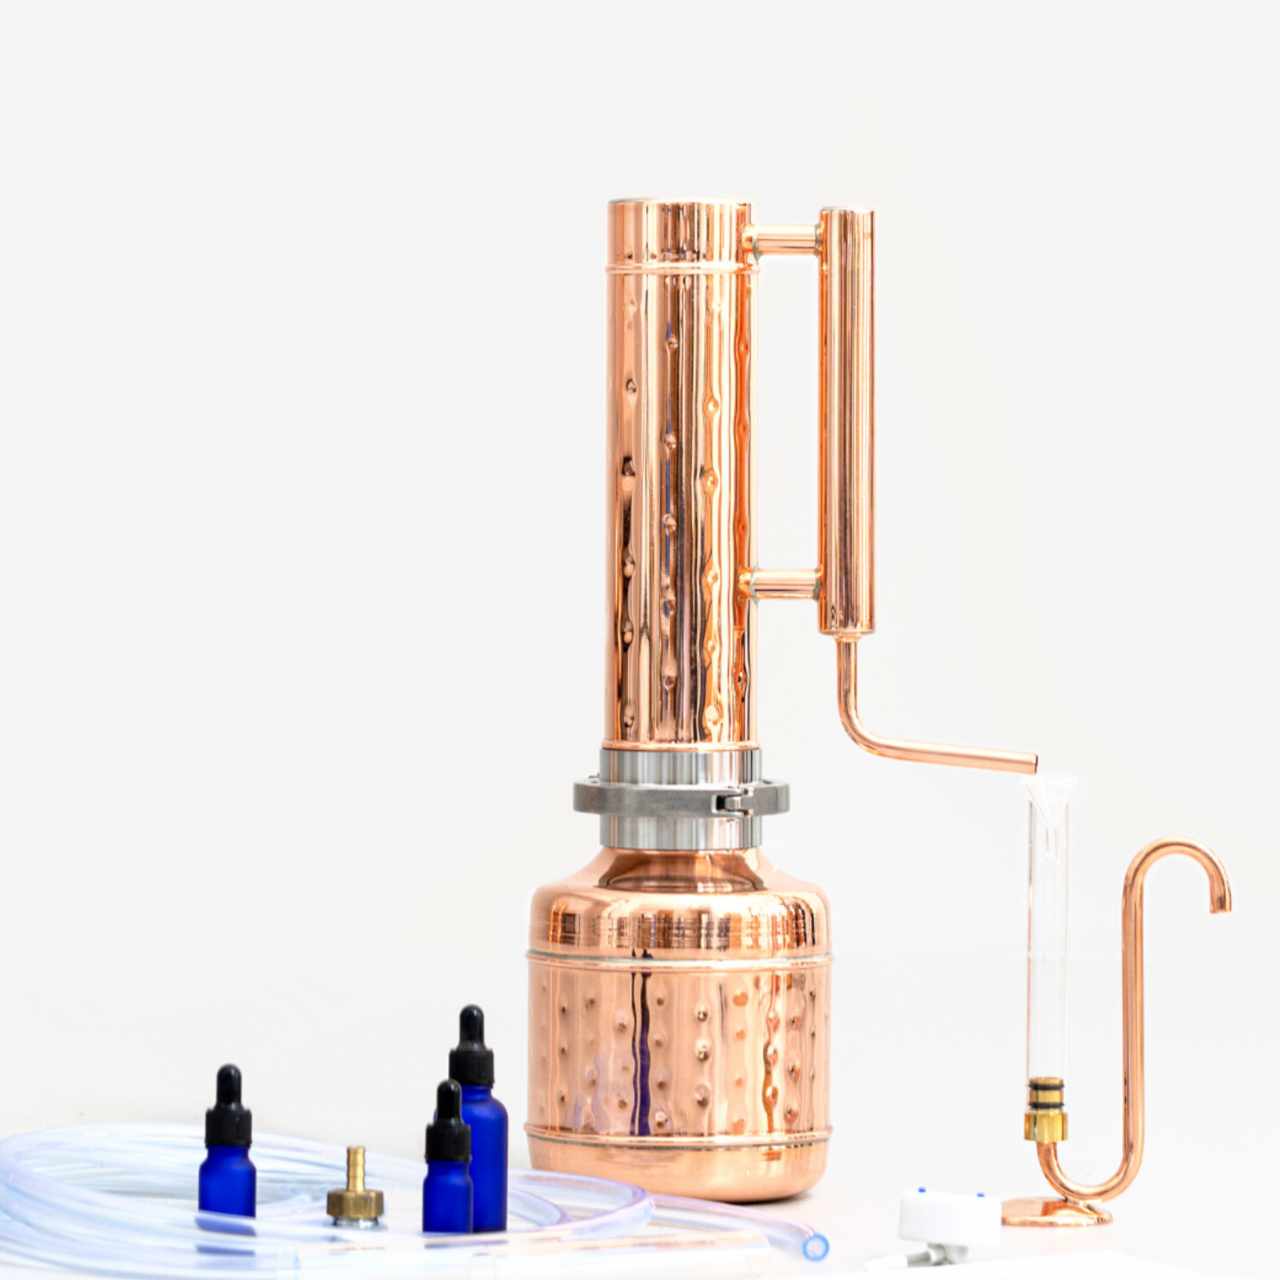
Even if your goal is to extract essential oil, you will get only hydrosol from the hydrosol outlet tube of your distiller. One more piece is needed to separate EO from this hydrosol. It is called the oil separator.
Previously, we supplied all distillers only standing for essential oil the separator. It should be placed under the hydrosole outlet tube. So that the hydrolate does not fall aside the separator, the latter should be located directly under the tube. In this case, there is often a need for an additional stand for the separator. To define whether you need a stand, place the assembled still on your stove and place the separator below the hydrosol outlet tube. If the distance between both is quite high, you may apply a funnel. Be careful, big funnels make the separator not stable.
Now we have a really good solution! We did modify our oil separator, and it is attached directly to the hydrolate outlet tube now. With such a separator, you will not have to look for a stand, and besides, you will not be in danger of the separator falling during the distillation process or after. You will not lose all the oil that you have obtained.
What do you need to make essential oils distillation?
Preparation for distillation
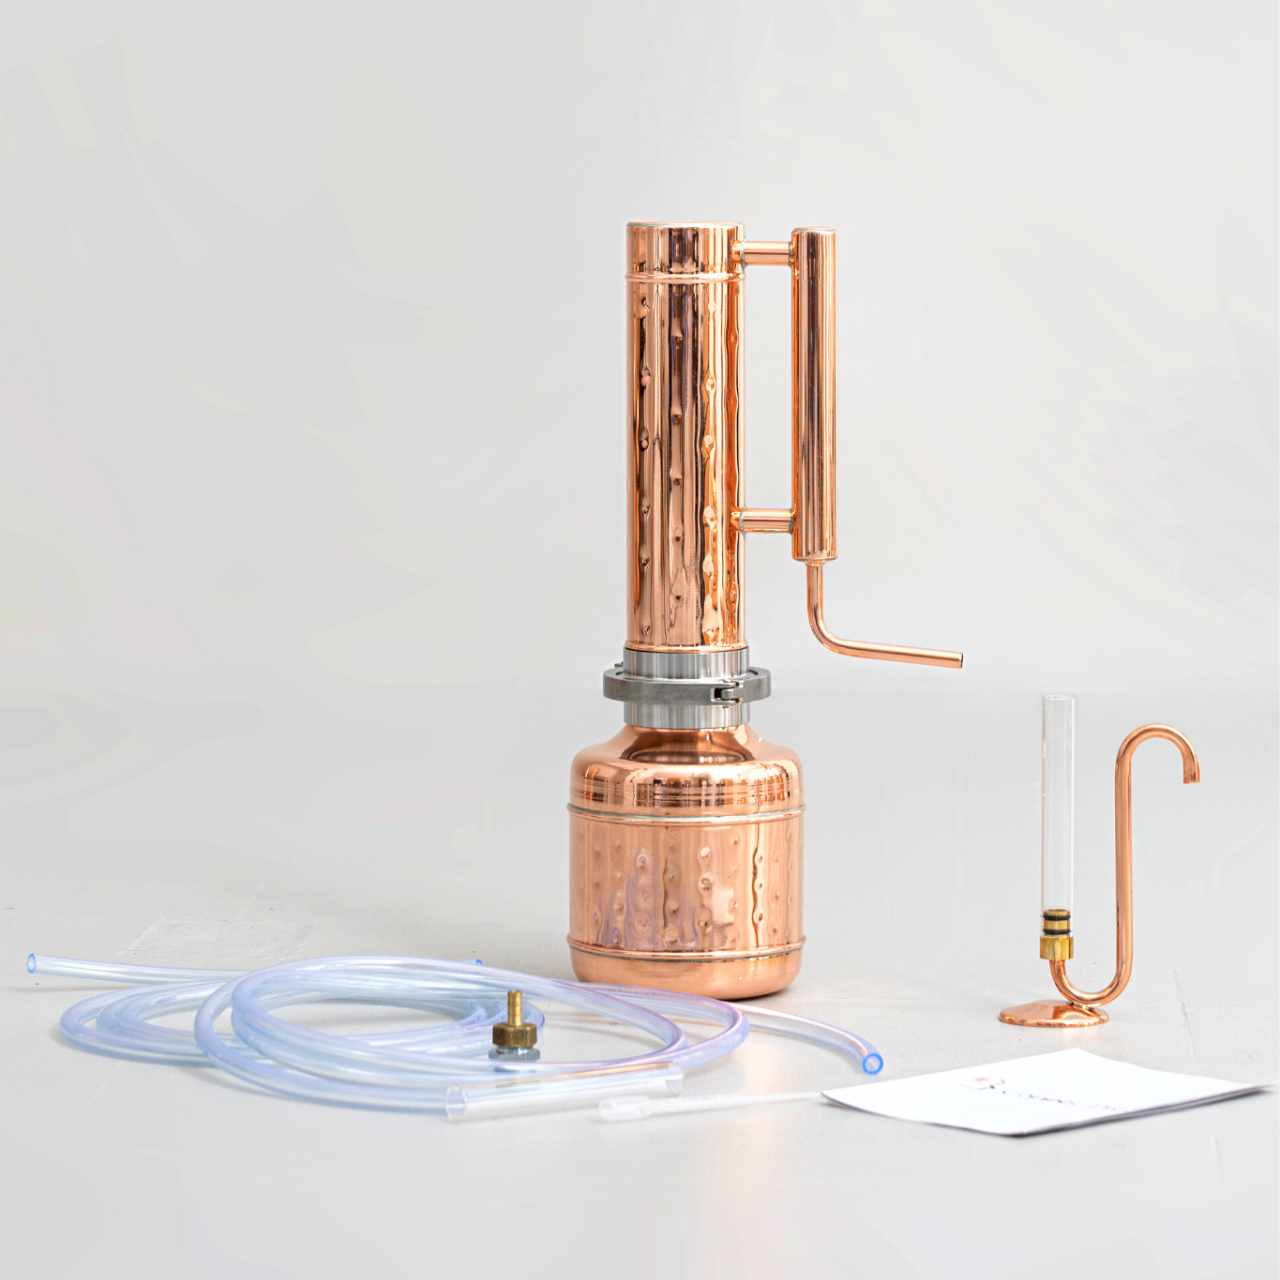
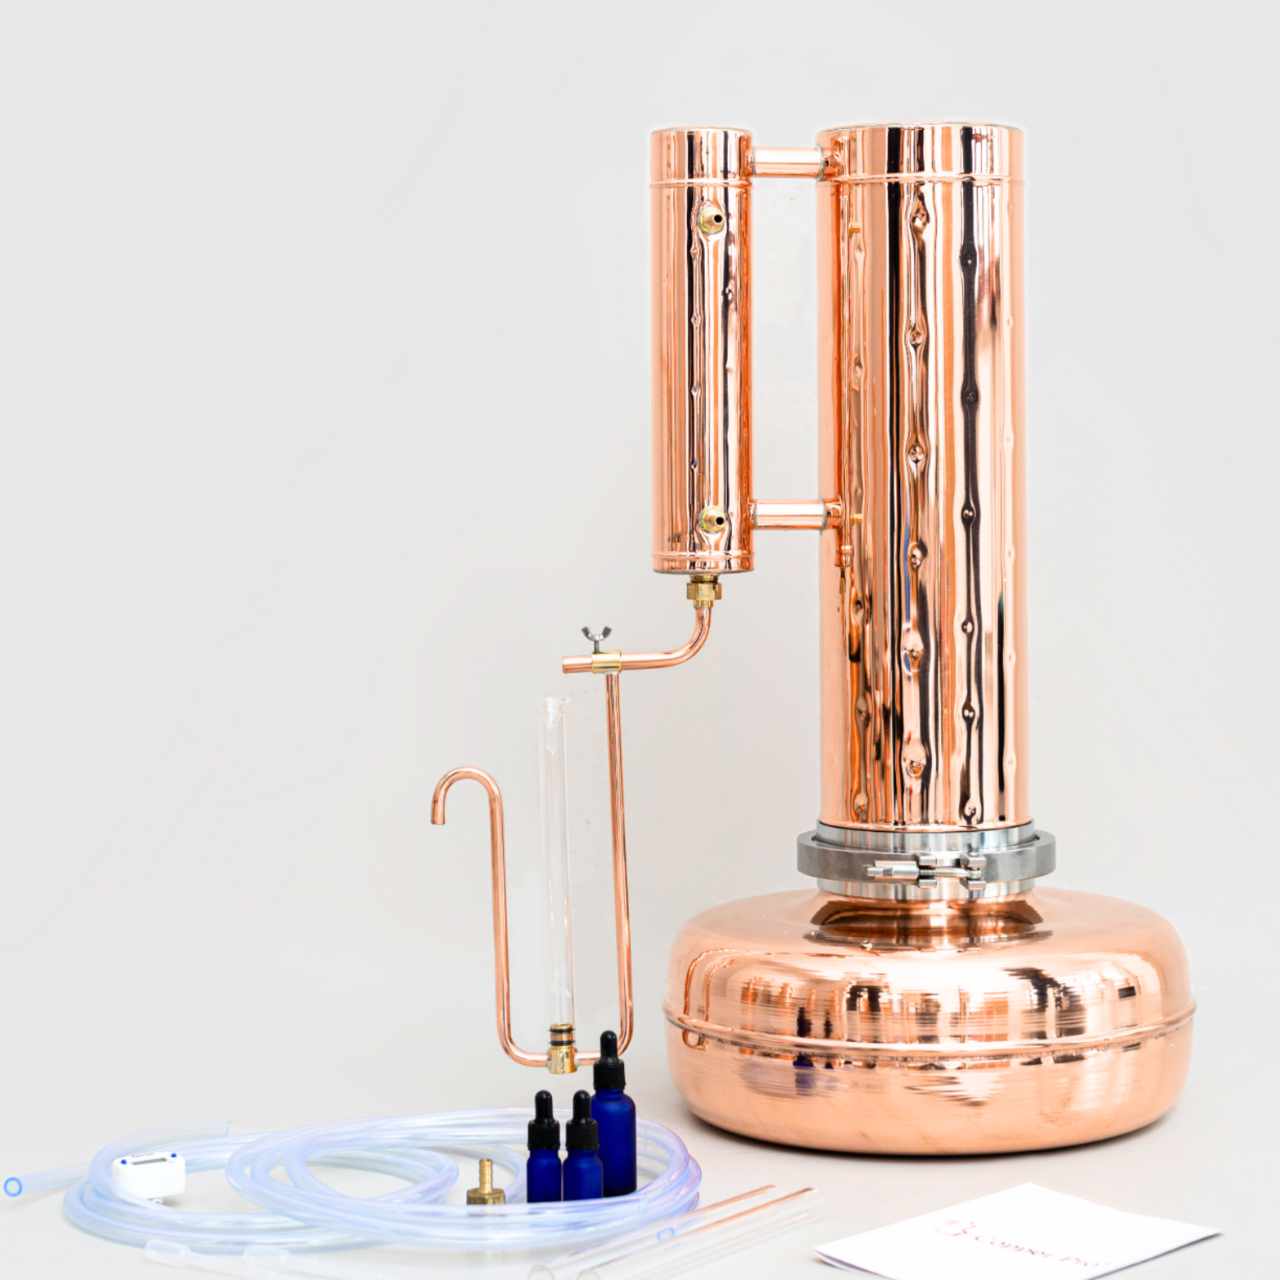
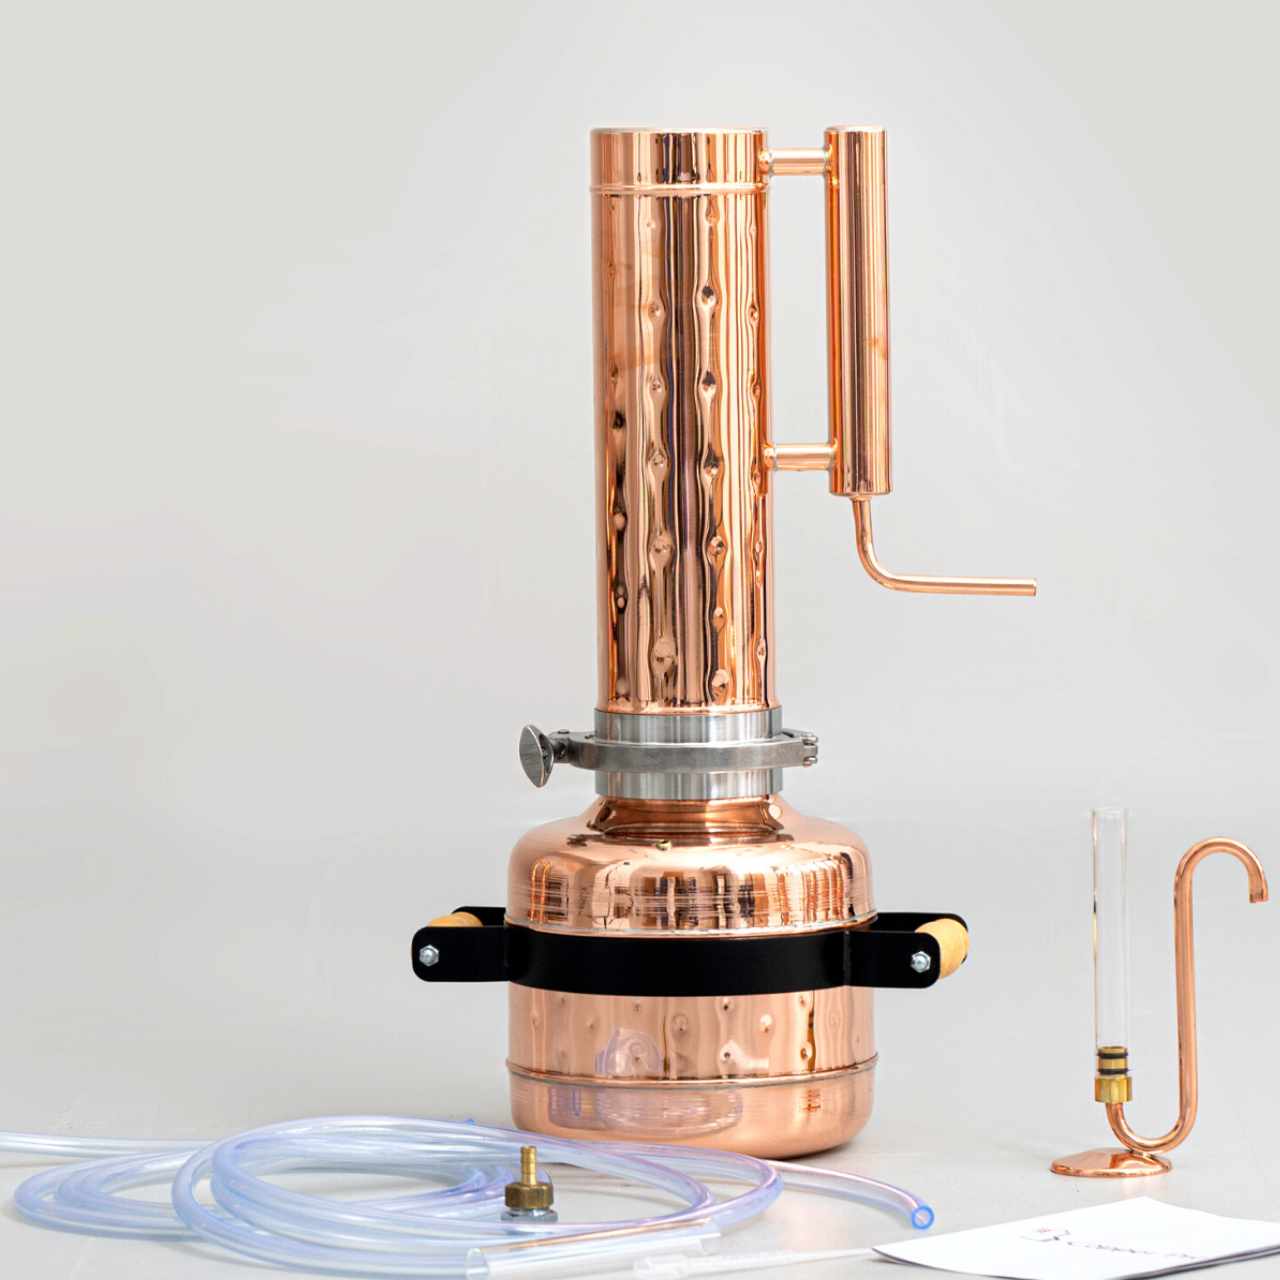
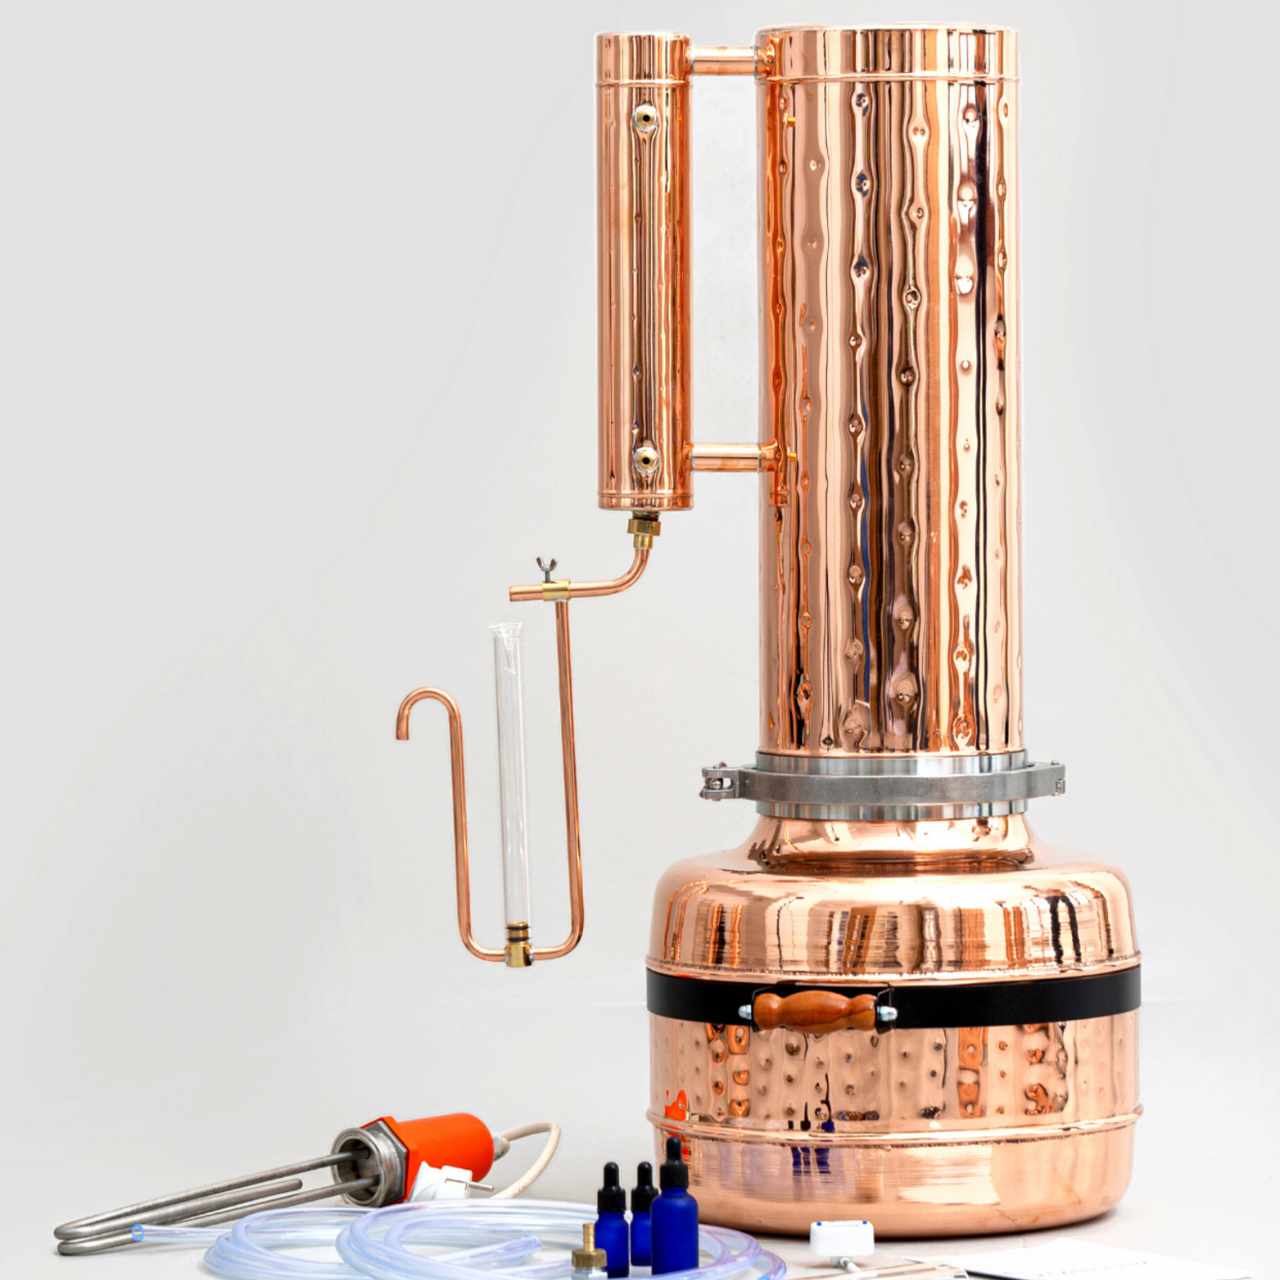
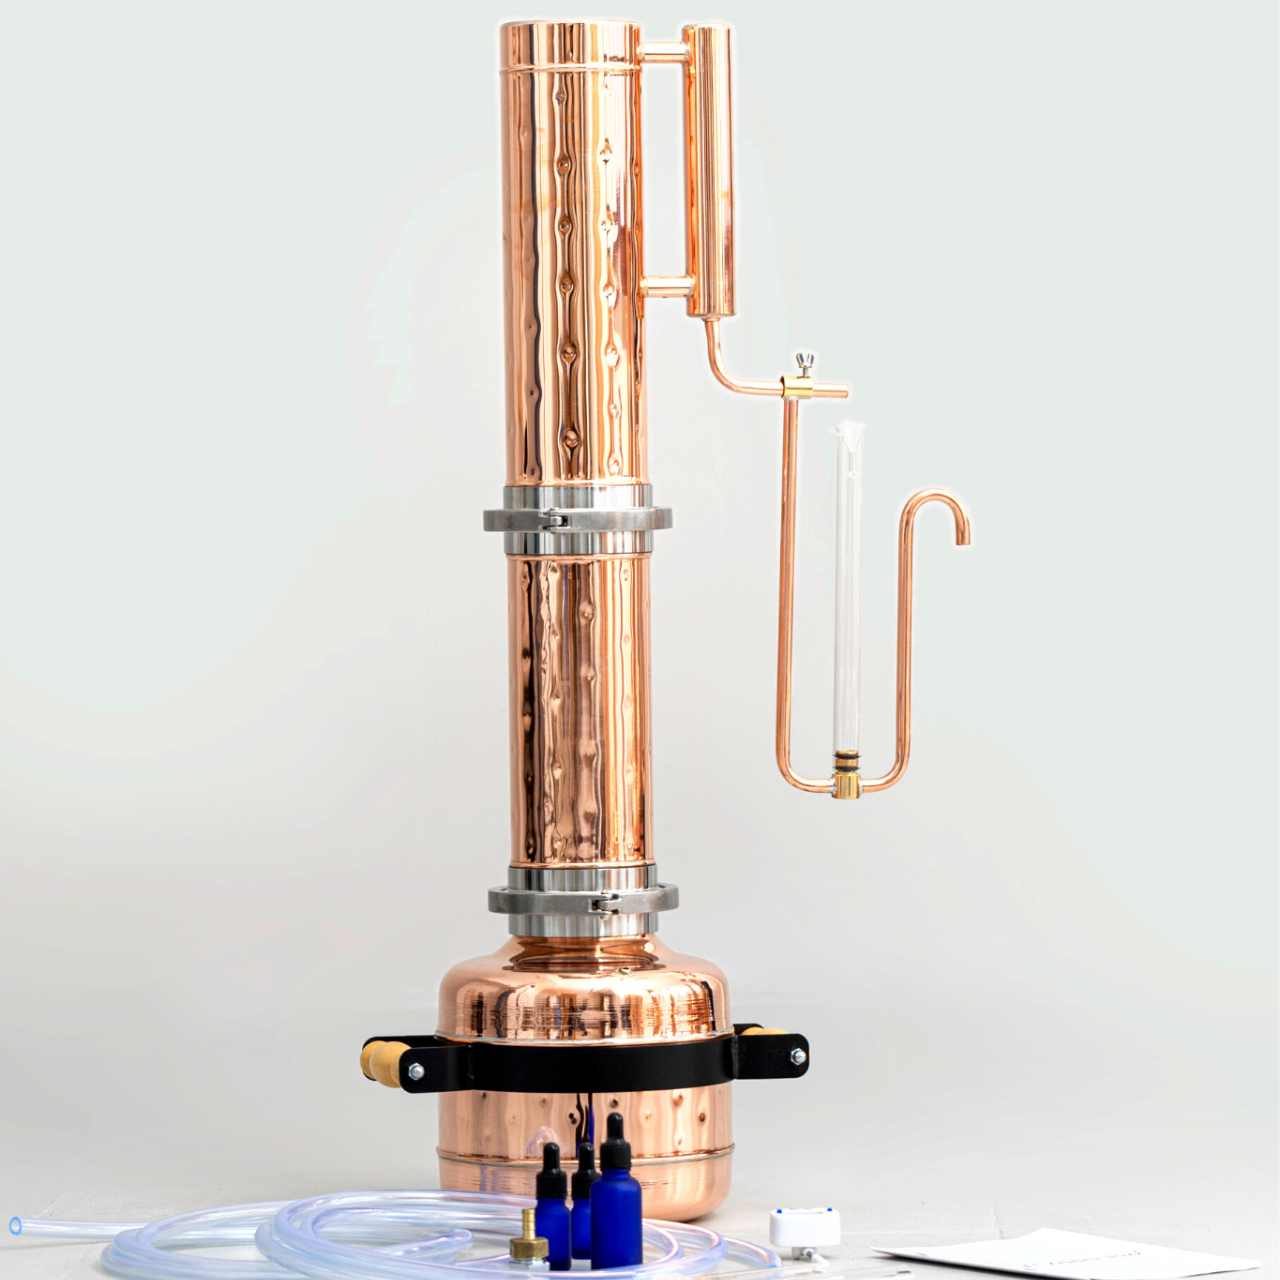
Before you start your first distillation, you need to reassure, you have all items required for distillation. Well, you already have a copper distiller for the essential oil, but you also have to take care for following aspects:
- Connecting the distiller to the water for cooling.
- Heating of the distiller
- All necessary stands and containers for hydrosol.
Cooling
We supply our stills with an adapter that one can screw into most household taps instead of an aerator. An aerator is a small thing installed in the tap in the place where water flows from it. It is easily unscrewed with a wrench and the adapter to be screwed in. The adapter is then connected to the hose that comes with the kit. The other end of the hose is to be put on the lower water inlet tube of the cooler. The other hose is fitted to the cooler top inlet tube, from here the hot water will drain into the wastewater via your sink.
Optionally, you can collect hot water for your household needs.
Flow of the water during distillation should be around 1,0 to 1,5 l (0,27 to 0,4 g) per min. It depends on the temperature of the water in the system. The temperature of the hydrosole should be below 30°С (86°F).
Another way to arrange a cooling of the distiller is to use an aquarium pump. You can order it from us, or buy from a local shop. The pump should be minimum of 35W or 40W, or 2000l/hour.
In this case, you should connect the hose with the pump and connect it with the lower inlet tube on the cooler. The end of the other hose, connected to the upper outlet tube, should be in your bucket or barrel with cooling water.
Get the coolest water for this type of cooling system possible. Application of ice is an option, but it will not give sustainable results.
For a needed cooling effect you have to calculate the proper amount of water in your bucket. You need 1,0 l (0,27 g) of water in your bucket for each minute of distillation. Extraction of essential oils can be done in 15-20 minutes, in this case you will need a bucket of 20 liters (2,7g). If you are going to distill hydrosols, you will need a whole barrel, because it will take at least 2 hours. Multiple buckets with cold water will be an option.
Heating
For the distillation you also need a source heating for the water located in a boiler. All types of stoves are suitable for copper stills, except induction. If you have an induction stove, you need a stainless steel adapter to heat the copper vessel and our stills, since copper is not magnetized. In this case, the induction plate heats the disk, and the disk, in turn, heats the copper surface of the still. This is an energy-consuming and inefficient way, so it is better to find the possibility of using other types of stove. A gas burner or even a campfire could be an option, and it is quite difficult to arrange the stability of the entire system in this case.
We supply our bigger copper stills with electric heaters installed into the boiler. In this case, you only need to plug the heater into the socket and the water will start to heat up. The advantage of such heating, in addition to independence from the heating surface, is efficiency. Water is heated directly from the heating source!
HOW TO MAKE ESSENTIAL OILS: A STEP-BY-STEP GUIDE
Essential oil making process
So how to make essential oil distillation from herbs and flowers at home?
We finally came to the answer to this question. You’ve completed all the preliminary preparation. You have an essential oil distillation kit, raw materials, connection to the cooling system and a suitable heating source.

1. Fill the boiler with water. I usually boil water in the electric teapot first and pour it into the boiler. If extracting solely EOs filling ⅕ of the boiler with water will be enough. In case of hydrosol, fill the whole boiler with water, leaving 1,5 inches (3-4 cm) to the top edge of the boiler.
WARNING!
For a boilers with electric heater, it should be installed prior to filling up boiler with water. Put silicon gasket on the heater, then put it heater onto the flange of the boiler and close the clamp.

2. Fill the column with raw material. There are some features on that. Please read more below.
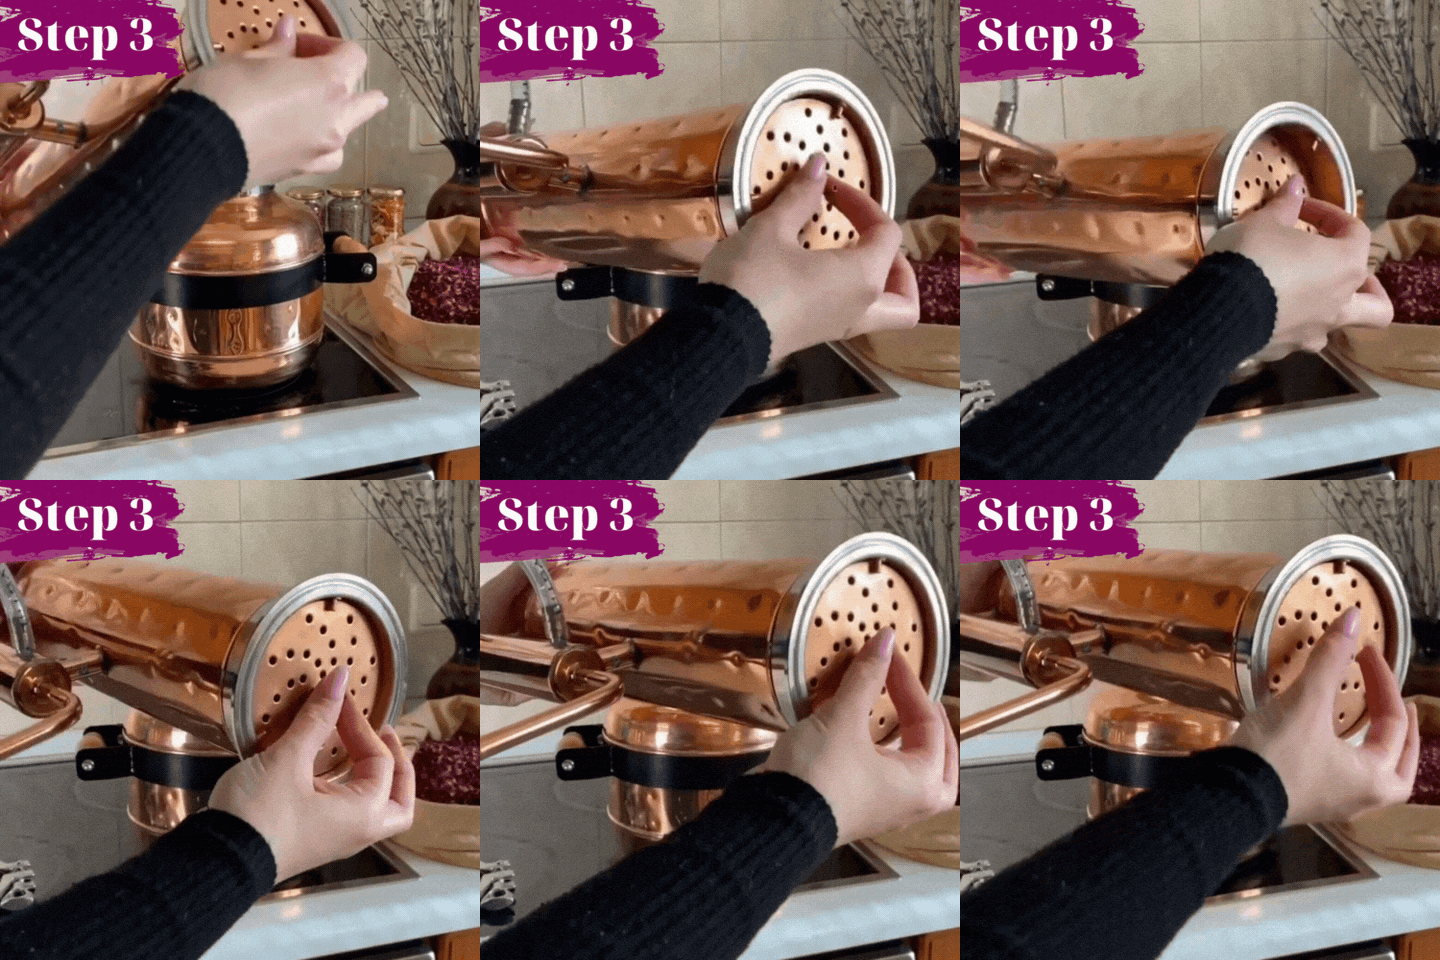
3. Close the column with the sieve.

4. Put the silicone gasket into the rim of the boiler

5. Put the column on the boiler so that the gasket will not go beyond the ferrules. If required you can rib the edge of both ferrules with the finger and press the gasket inside. Attach the column to the boiler with the clamp-on.

6. Connect the still with your water system as prescribed above.

7. Assemble the separator. Put a glass tube onto a metal part with two rubber rings. Before inserting a glass tube, grease rubber rings with any edible oil. Then gently insert the glass tube making slow circular movements.
8. Place the oil separator below the hydrosol outlet tube of the distiller.
10. Get a vessel that would stand under the copper tube of the separator. It is desirable to put the vessel directly under this tube without additional silicone tubes, so that the hydrosol will be of the best quality. In no case do not use a PVC tube to collect the hydrolate, as the chloride contained in the tube is released when heated.
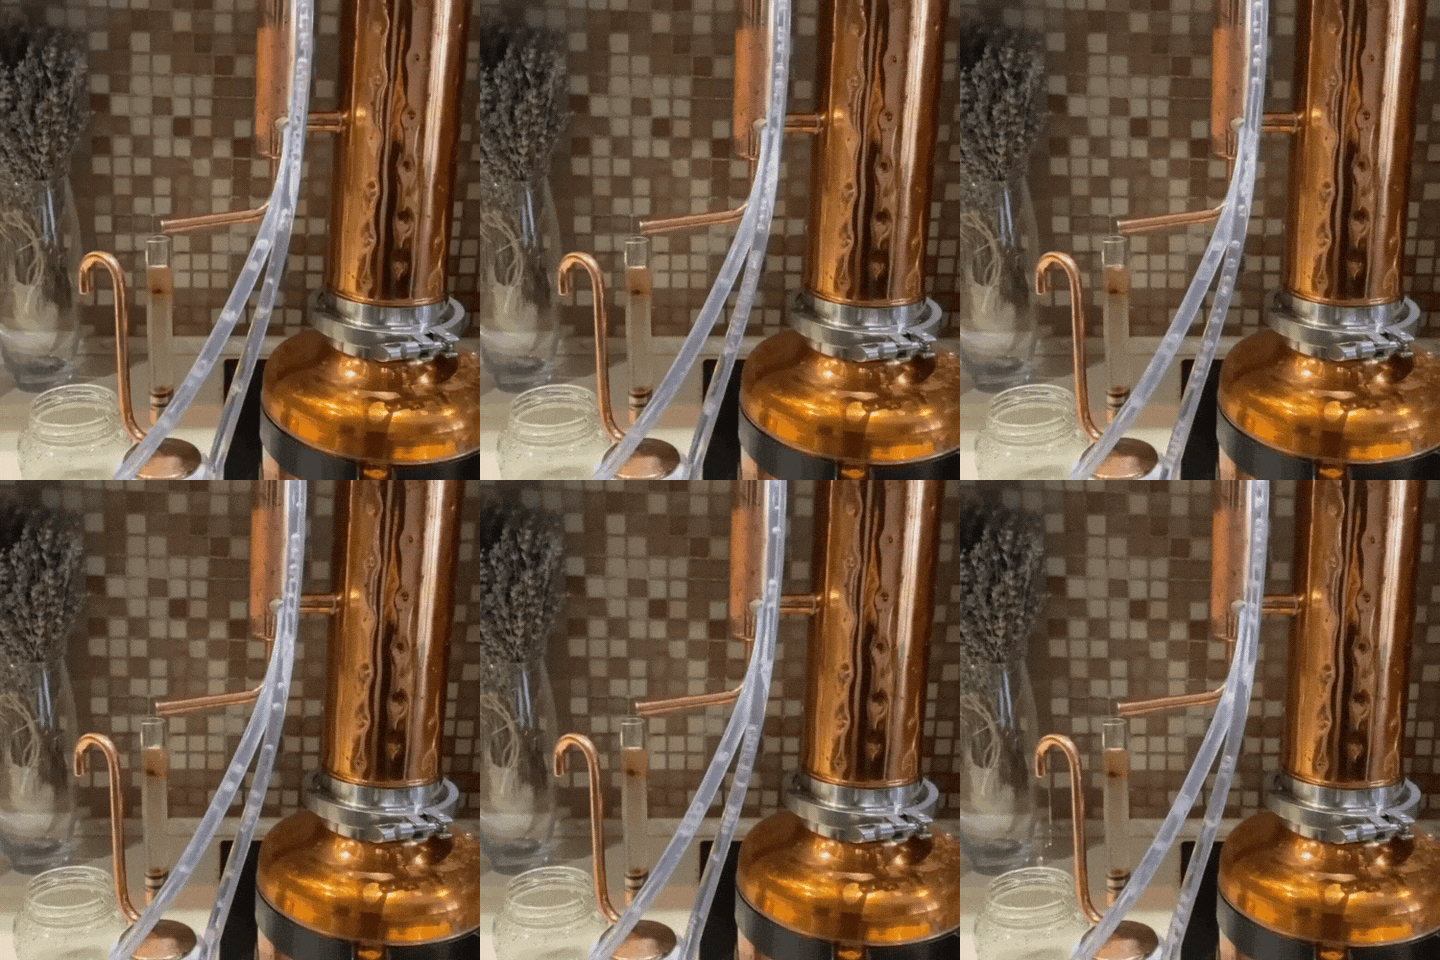
11. Switch on the stove and wait for the first drops of the best hydrosol and essential oil of the home quality to come. For stills with the electric heater plug the heating element into the socket.
Full instructions for using the distiller
Temperature control during distillation of essential oils and hydrosols

Unfortunately, there is any, or we could not find any, adequate information about the optimal temperature for performing steam distillation. What we are certain about is that the temperature affects the quality of the essential oil, because as a result of the heat treatment, different chemical components are released from the raw materials with different intensity. As follows it affects the final content of the essential oil.
We recommend you to find an optimal distillation temperature for essential oil and hydrosols. You could test the temperature between 80°C to 100°C (176°F to 212°F). From our point of view, the optimal temperature is 95°C (203°F).
Distillation temperature refers to the readings of the thermometer installed in the boiler of the distiller.
WARNING! A temperature higher than 100°C (212°F) indicates the extra pressure in the boiler. The reason for this could be some complication for the steam to exit the column into the cooler. The column is filled with the raw material, so steam cannot go through at the rate at which it is generated. During home distillation, the acceptable temperature is up to 105°C (221°F). If the temperature is 105°C (221°F) or more, you should immediately turn off your heating source. In this case, a given temperature can indicate the creation of a plug made of the raw materials in the column. This could cause damage of the distiller, so a temperature above 105°C (221°F) is not acceptable! Leave the cooling on till the temperature will decrease below 95°C (203°F). Once the distiller will be totally cool, deinstall it and remove the raw material from the column.
When you should stop the distillation process of MAKING ESSENTIAL OILS
When to stop essential oil distillation?
In many cases, extraction of essential oil will take only 20 minutes (especialy extraction of dry flowers and leaves). Some kinds of raw materials should be distilled longer. Raw materials like frankincense take 4 hours or more to extract whole oil content.

In order to understand if it is time to stop the distillation, it is necessary to measure the level of essential oil in the separator with the help of a measuring stick. If you do not notice an increase in the essential oil level after 10 or 15 minutes compared to the previous measurement, this indicates that further distillation is not reasonable.
The amount of essential oil yield from one distillation depends on two main factors : the content of essential oil in this type of raw material and the amount of raw material you filled the column with. For further information, please visit our page with FAQ.
When to stop hydrosol distillation?
The saturation of the hydrosol decreases throughout the distillation. Accordingly, the hydrosol obtained at the beginning of distillation is very different in quality from the hydrosol obtained after 2 hours of distillation.
As for essential oil and for hydrosols, the amount of high-quality hydrolate highly depends on the amount of raw material in the column.
Again, we recommend that you define for yourself what is the proper ratio between the amount of raw material in the column to the amount of hydrosol obtained.A hint. Change jars where you collect the hydrosol every 30 min to separate different quality hydrosols from each other.
Our recommendation for hydrosol extraction: Extract the same quantity of the hydrosol as the volume of raw material you filled the column with. E.g. if you filled a half of 2l column, which means 1l of raw material, you may extract at least 1l of hydrosol. Further distillation is possible as well. It depends on your requirements.
WARNING! You may extract upto ¾ of the water volume you have filled the column with. E.g. if you filled the column with 4 l, do stop distillation once you have got 3l of hydrosole.
End of the extraction process of essential oils
Switch off the cooker and stop the water flow. Let the distiller to cool down.
Now disassemble the whole set.
Remove the raw material from the column. Rinse all parts of the distiller properly.
Collecting essential oil

During the distillation process, together with the essential oil, small particles of the raw material may go to the oil separator. This causes the oil looking dirty. Once the distillation is finished, let the separator stay with the oil in a safe place for several hours.
Small particles will go down and you may collect pure essential oil with the pipette into an intransparent glass bottle.
Hydrosols should be stored in glass jars, preferably in a dark place, or at least in a place protected from direct sunlight.
Enjoy using the essential oils and hydrosols made at home!


![Essential oil extractor 0.53G (2L) - [Premium Kit] - Copper Pro](http://copper-pro.com/cdn/shop/files/essential-oil-extractor-053g-2l-premium-kit-127057.jpg?crop=center&height=1280&v=1740390471&width=1280)
Comments (0)
Back to Blog Posts